1. Úvod
This manual provides essential information for the safe and efficient operation of your InFocus IN112a SVGA DLP Projector. Please read it thoroughly before using the projector and retain it for future reference. The InFocus IN112a is designed to deliver clear and bright projections for various applications, featuring SVGA resolution, HDMI connectivity, and 3D support.
2. Bezpečnostné informácie
Dodržiavajte nasledujúce bezpečnostné opatrenia, aby ste predišli poškodeniu projektora a zaistili bezpečnosť používateľa:
- Do not look directly into the projector lens keď lamp svieti. Intenzívne svetlo môže spôsobiť poškodenie očí.
- Zabezpečte dostatočné vetranie. Neblokujte vetracie otvory.
- Only qualified service personnel should open the projector casing. Vo vnútri sa nenachádzajú žiadne časti, ktoré by mohol používateľ opraviť.
- Používajte iba napájací kábel dodaný s projektorom.
- Uchovávajte projektor mimo vody alebo vlhkého prostredia.
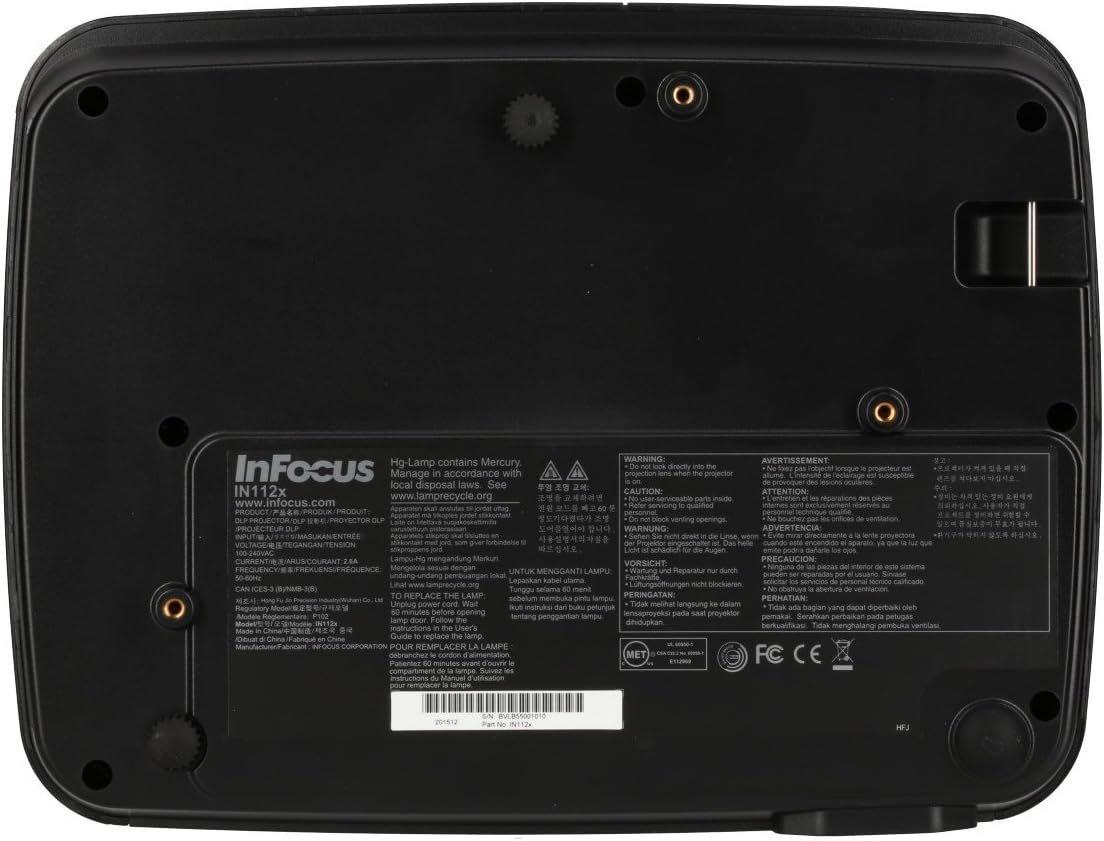
- Projektor lamp contains mercury. Dispose of lamps according to local regulations. Visit www.lamprecyklovať.org pre viac informácií.

Obrázok: Spodná časť view of the InFocus IN112a projector, displaying various warning labels, regulatory compliance marks (like CE, FCC), and information regarding the mercury content in the lamp and recycling instructions.
3. Produkt skončilview
3.1. Rozmery projektora

Obrázok: Predná strana view of the InFocus IN112a projector, illustrating its physical dimensions. The projector measures approximately 292 mm in width, 220 mm in depth, and 108 mm in height.
3.2. Ovládacie prvky na hornom paneli
Obrázok: Hore view of the InFocus IN112a projector, highlighting the control panel. This panel includes buttons for power, menu access, source selection, and directional navigation for menu adjustments.
The top panel features buttons for power on/off, menu access, input source selection, and navigation arrows for adjusting settings within the on-screen display (OSD) menu. The focus and zoom rings are located near the lens.
3.3. Pripojenia zadného panela

Obrázok: Zadná strana view of the InFocus IN112a projector, displaying its comprehensive array of connectivity ports. These include HDMI 1.4, two VGA inputs (Computer 1, Computer 2), a VGA monitor output, S-Video, Composite video, two 3.5mm stereo audio inputs, one 3.5mm stereo audio output, an RS232C control port, and a USB-B port.
The rear panel provides a variety of connection options:
- HDMI 1.4: Pre digitálny video a audio vstup.
- VGA (Computer 1, Computer 2): Two inputs for analog computer signals.
- VGA Monitor Out: Na pripojenie externého monitora.
- Zložené video: For standard definition video input.
- S-Video: For enhanced standard definition video input.
- Audio In (3.5mm x 2): For stereo audio input.
- Zvukový výstup (3.5 mm): For stereo audio output to external speakers.
- RS232C: For projector control via a computer or control system.
- USB-B: Pre servis alebo aktualizácie firmvéru.
4. Nastavenie
4.1. umiestnenie
Position the projector on a stable, flat surface or mount it securely to a ceiling. Ensure there is adequate space around the projector for ventilation. The distance from the screen will determine the image size. Refer to the specifications section for throw ratio details.
4.2. Pripojenie napájania
Connect the supplied power cord to the projector's power inlet and then to a grounded electrical outlet. The power LED will illuminate, indicating standby mode.
4.3. Pripojenie zdrojov videa
Connect your video source (e.g., computer, Blu-ray player, cable box) to the appropriate input port on the projector's rear panel using a compatible cable. For best quality, use the HDMI input.
- HDMI: Connect an HDMI cable from your source to the projector's HDMI port.
- VGA: Connect a VGA cable from your computer to either the Computer 1 or Computer 2 port.
- Composite/S-Video: Connect the respective cable for older video sources.
4.4. Pripojenie zvuku
If using VGA, Composite, or S-Video inputs, connect an audio cable from your source's audio output to one of the projector's 3.5mm Audio In ports. HDMI carries both video and audio, so a separate audio connection is not typically needed for HDMI sources.
4.5. Adjusting Focus and Zoom
After powering on the projector and displaying an image, rotate the Zaostrovací krúžok around the lens until the image is sharp and clear. Use the Krúžok priblíženia na úpravu veľkosti obrázka tak, aby sa prispôsobil vašej obrazovke.
5. Prevádzka
5.1. Zapnutie/vypnutie
- Zapnutie: Press the Power button on the projector's top panel or the remote control. The power indicator will turn green.
- Vypnutie: Press the Power button twice. The projector will enter a cooling cycle, and the power indicator will turn red (standby) once complete.
5.2. Výber zdroja vstupu
Press the "Source" button on the projector or remote control repeatedly to cycle through available input sources (HDMI, VGA1, VGA2, S-Video, Video). The projector will automatically detect an active signal if "Auto Source" is enabled in the menu.
5.3. Navigácia v ponuke
Press the "Menu" button to access the On-Screen Display (OSD) menu. Use the directional arrows to navigate through menu options and the "Enter" button to select. Press "Menu" again to exit.
5.4. 3D Content Playback
The IN112a supports 3D content from Blu-ray players, cable boxes, dish services (over HDMI), and PC-based 3D content at 120Hz. To view 3D content, you will need 144 Hz DLP Link 3D glasses (sold separately).
- Ensure your 3D source is connected via HDMI.
- Play 3D content from your source.
- Turn on your 144 Hz DLP Link 3D glasses. The projector should automatically detect the 3D signal.
6. Údržba
6.1. Cleaning the Projector Lens
Šošovku jemne utrite mäkkou handričkou, ktorá nepúšťa vlákna a je špeciálne určená na optické povrchy. Nepoužívajte abrazívne čistiace prostriedky ani nadmernú silu, pretože by ste mohli šošovku poškriabať.
6.2. Lamp Výmena
Projektor lamp má životnosť až 10 000 hodín. Keď lamp život sa blíži ku koncu, môže sa zobraziť varovná správa aleboamp indicator LED may illuminate. Refer to the full service manual for detailed lamp pokyny na výmenu. Upozornenie: Lamp obsahuje ortuť. Použitý lamps according to local environmental regulations.
6.3. Cleaning Air Filters
Regularly clean the air filters to ensure proper ventilation and prevent overheating. Dust and debris can accumulate, reducing cooling efficiency. Gently remove the filter cover and clean the filter with a soft brush or vacuum cleaner. Replace the filter cover securely.
7. Riešenie problémov
| Problém | Možná príčina | Riešenie |
|---|---|---|
| Nezobrazuje sa žiadny obrázok |
|
|
| Obraz je rozmazaný |
|
|
| Žiadny zvuk |
|
|
| Projektor sa prehrieva a vypína |
|
|
8. Špecifikácie
| Funkcia | Detail |
|---|---|
| Číslo modelu | IN112X |
| Technológia displeja | DLP |
| Natívne rozlíšenie | SVGA (800 x 600) |
| Jas | Až do 3200 lúmenov |
| Kontrastný pomer | 15,000:1 |
| Lamp Život | Až 10,000 hodín |
| Konektivita | HDMI 1.4, VGA x 2, Composite video, S-Video, 3.5 mm stereo in x 2, 3.5mm stereo out, VGA monitor out, RS232C, USB-B |
| 3D podpora | Yes (requires 144 Hz DLP Link 3D glasses) |
| Pomer hodu | 1.9 – 2.09 |
| Rozmery produktu | 14.25 x 12 x 7.75 palca (približne 36.2 x 30.5 x 19.7 cm) |
| Hmotnosť položky | 5.4 libry (približne 2.45 kg) |
| Odporúčané použitie | Vnútorné/vonkajšie |
| Špeciálna funkcia | Vstavané reproduktory |
9. Záruka a podpora
For warranty information and technical support, please refer to the documentation included with your purchase or visit the official InFocus webstránky. Uschovajte si doklad o kúpe pre prípad reklamácie.