
1. Úvod
This manual provides detailed instructions for the installation, operation, and maintenance of your new ATA 43 Inch Full HD LED Smart TV, Model 43S1. Please read this manual thoroughly before using the television to ensure proper functionality and to maximize your viewskúsenosti. Uschovajte si tento návod pre budúce použitie.
2. Dôležité bezpečnostné informácie
- Zdroj napájania: Uistite sa, že televízor je pripojený k zdroju napájania v rámci špecifikovaného objemutage rozsah.
- Vetranie: Neblokujte vetracie otvory. Okolo televízora nechajte dostatočný priestor pre správne prúdenie vzduchu.
- Voda a vlhkosť: Nevystavujte televízor dažďu ani vlhkosti. Neumiestňujte na televízor predmety naplnené tekutinami, ako napríklad vázy.
- Čistenie: Pred čistením odpojte televízor zo siete. Použite mäkkú, suchú handričku. Nepoužívajte tekuté ani aerosólové čistiace prostriedky.
- umiestnenie: Televízor umiestnite na stabilný a rovný povrch. Neumiestňujte ho na priame slnečné svetlo ani do blízkosti zdrojov tepla.
- servis: Nepokúšajte sa opravovať tento výrobok sami. Všetky opravy zverte kvalifikovanému servisnému personálu.
3. Obsah balenia
Zaškrtnite políčko pri nasledujúcich položkách:
- ATA 43 Inch Full HD LED Smart TV (Model 43S1)
- Diaľkové ovládanie
- TV stolík (2 kusy)
- Napájací kábel
- Používateľská príručka (tento dokument)
- Skrutky pre TV stojan
4. Produkt skončilview
4.1. Predné View
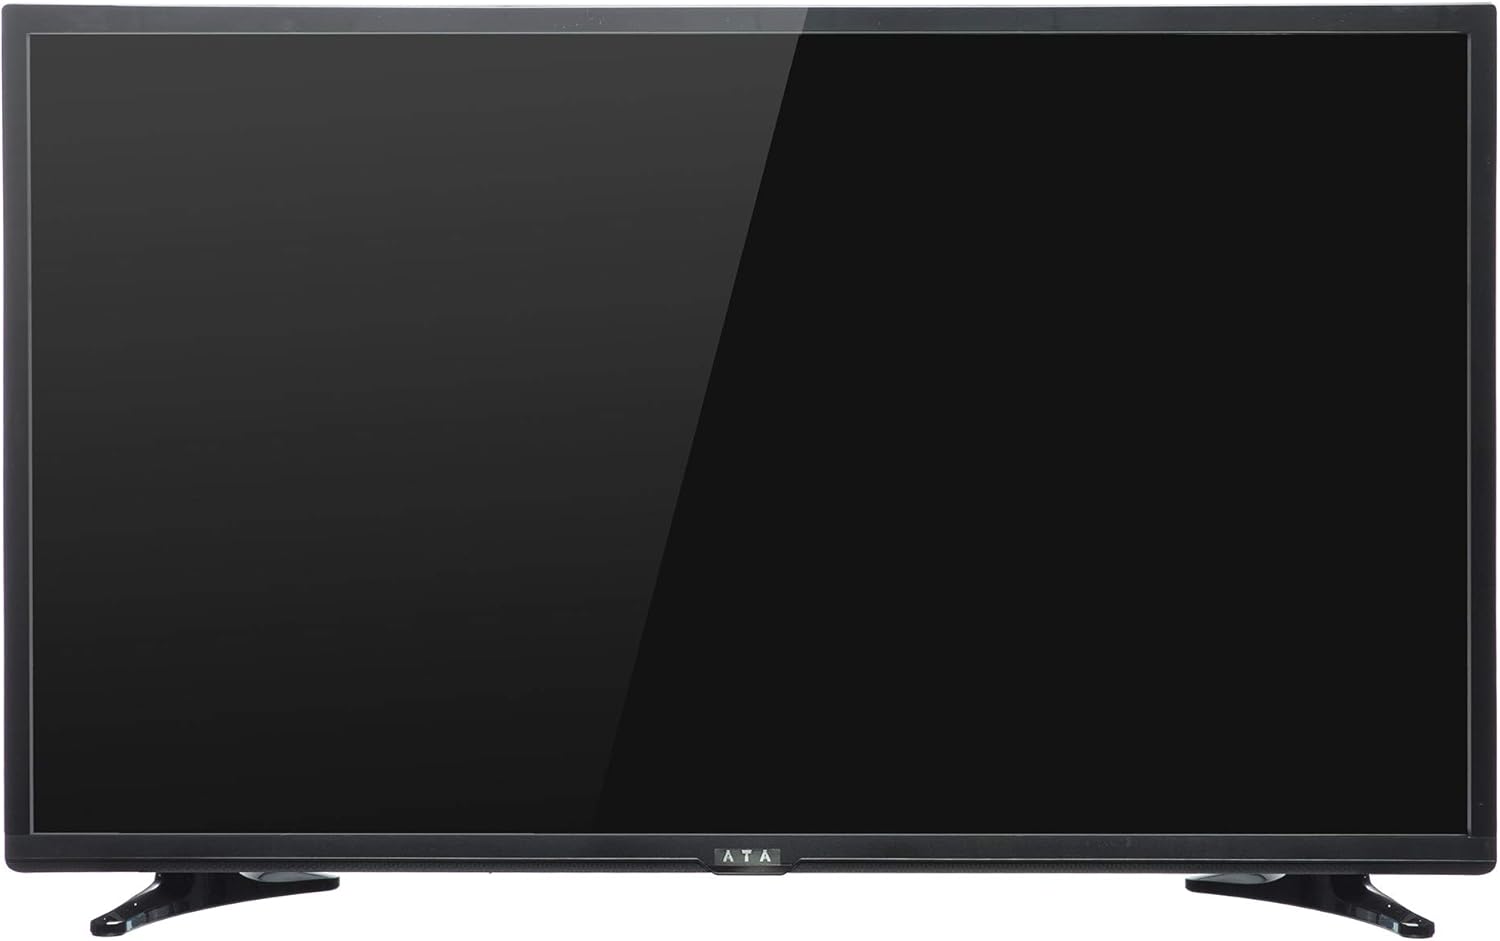
Obrázok 1: Predná strana view of the ATA 43 Inch Smart TV. The screen is black, indicating it is powered off or in standby mode. The ATA logo is visible at the bottom center.
The front of the ATA 43S1 TV features a sleek design with a narrow bezel, maximizing the screen area. The ATA brand logo is centrally located at the bottom of the frame. An indicator light (not visible in image) and IR receiver for the remote control are typically located near the logo.
4.2. Zadná časť View

Obrázok 2: Zadná časť view of the ATA 43 Inch Smart TV. This image displays the back panel, including VESA mounting holes for wall installation and designated areas for input/output ports.
The rear panel of the TV includes VESA mounting points for wall installation (wall mount bracket sold separately). Various input and output ports are located on the side and bottom sections of the back panel for easy access.
4.3. Vstupné/výstupné porty
Your ATA Smart TV is equipped with a variety of ports to connect external devices.

Image 3: Close-up of the side-facing ports, showing three HDMI ports (HDMI1, HDMI2, HDMI3) and two USB ports (USB2.0, USB2.0).
- HDMI porty (x3): For connecting high-definition devices such as Blu-ray players, gaming consoles, and set-top boxes.
- USB porty (x2): Na pripojenie úložných zariadení USB na prehrávanie médií filealebo pre aktualizácie softvéru.

Image 4: Close-up of the bottom-facing ports, including Earphone, RJ45 (Ethernet), PC Audio, PC(VGA), Mini YPbPr, Video, L/R Audio (AV In), and Coaxial.
- Port RJ45 (ethernet): Pre káblové pripojenie na internet.
- PC(VGA) Port: Na pripojenie počítača.
- Zvukový vstup PC: Zvukový vstup pre pripojenie VGA.
- AV In (Video, L/R Audio): Na pripojenie starších zariadení s kompozitnými video a stereo audio výstupmi.
- Mini YPbPr: Vstup komponentného videa.
- Koaxiálny: Na pripojenie antény alebo káblovej televízie.
- Konektor pre slúchadlá: Na pripojenie slúchadiel.
4.4. Diaľkové ovládanie

Image 5: The remote control for the ATA Smart TV. It features standard TV controls, navigation buttons, and dedicated function keys.
The remote control allows you to operate all functions of your TV. It includes buttons for power, input source selection, volume control, channel navigation, menu access, smart TV functions, and media playback controls.
- POHOTOVOSTNÝ REŽIM (Červené tlačidlo): Zapnutie / vypnutie.
- ZDROJ: Select input source (HDMI, AV, TV, etc.).
- Číselné tlačidlá (0-9): Priamy výber kanála.
- VOL +/-: Upravte hlasitosť.
- CH +/-: Zmeňte kanály.
- ZTLUMIŤ: Vypnutie/zapnutie zvuku.
- PONUKA: Vstúpte do hlavnej ponuky.
- ZADAJTE: Potvrďte výber.
- Navigačné tlačidlá (hore/dole/vľavo/vpravo): Navigácia v ponukách.
- VÝCHOD: Ukončenie aktuálnej ponuky alebo funkcie.
- DOMOV: Prístup k domovskej obrazovke Smart TV.
- P.MODE / S.MODE: Picture Mode / Sound Mode.
- SUBTITLE / AUDIO / REFRESH: Specific function buttons.
- PLAY/PAUSE, STOP, FF, FB, PREV, NEXT: Ovládacie prvky prehrávania médií.
5. Nastavenie
5.1. Pripevnenie stojana na televízor
- Televízor opatrne položte obrazovkou nadol na mäkký, čistý povrch, aby ste predišli poškodeniu obrazovky.
- Zarovnajte diely stojana s príslušnými otvormi na spodnej strane televízora.
- Upevnite stojanové diely pomocou dodaných skrutiek. Uistite sa, že sú pevne utiahnuté.
- Opatrne zdvihnite televízor a umiestnite ho na stabilný, rovný povrch.
Alternatively, you can use a VESA-compatible wall mount (not included) to mount the TV on a wall. Refer to the wall mount's instructions for installation.
5.2. Pripojenie napájania
Connect the power cord to the TV's power input and then plug the other end into a wall outlet. The TV will enter standby mode.
5.3. Sprievodca úvodným nastavením
The first time you power on the TV, an initial setup wizard will guide you through basic settings.
- Stlačte tlačidlo POHOTOVOSTNÝ REŽIM tlačidlo na diaľkovom ovládači zapnite televízor.
- Follow the on-screen prompts to select your preferred language, country/region, and time zone.
- Sieťové pripojenie:
- Wi-Fi: Vyberte svoju sieť Wi-Fi zo zoznamu a zadajte heslo.
- Ethernet: If you connected an Ethernet cable to the RJ45 port, the TV should automatically detect the wired connection.
- Complete any remaining steps in the setup wizard, such as channel scanning (if connecting an antenna/cable).
6. Návod na obsluhu
6.1. Zapnutie/vypnutie
- To turn on the TV from standby, press the POHOTOVOSTNÝ REŽIM tlačidlo na diaľkovom ovládači.
- Ak chcete televízor prepnúť do pohotovostného režimu, stlačte tlačidlo POHOTOVOSTNÝ REŽIM znova tlačidlo.
6.2. Výber zdroja vstupu
To switch between connected devices (e.g., HDMI, AV, TV tuner):
- Stlačte tlačidlo SOURCE tlačidlo na diaľkovom ovládači.
- Use the Navigation buttons (Hore/Dole) to highlight the desired input source.
- Stlačte tlačidlo ENTER na potvrdenie vášho výberu.
6.3. Ovládanie hlasitosti a kanálov
- Stlačte tlačidlo VOL+ na zvýšenie objemu, HLASITOSŤ - na zníženie hlasitosti.
- Stlačte tlačidlo CH+ to go to the next channel, CH - pre prechod na predchádzajúci kanál.
- Use the Number buttons to directly enter a channel number.
- Stlačte tlačidlo ZTLUMIŤ to temporarily turn off the sound. Press again to restore.
6.4. Funkcie inteligentnej televízie (Android 4.4.2)
Your TV runs on Android 4.4.2, providing access to various smart features and applications.
- Stlačte tlačidlo DOMOV button on the remote to access the Smart TV home screen.
- From the home screen, you can navigate to pre-installed applications or access settings.
- Ensure your TV is connected to the internet via Wi-Fi or Ethernet to utilize online features.
- Use the Navigation buttons and ENTER to select and launch applications.
7. Údržba
- Čistenie obrazovky: Obrazovku jemne utrite mäkkou handričkou, ktorá nepúšťa vlákna. V prípade odolných škvŕn ju jemne utrite.amphandričku utrite vodou alebo špeciálnym čistiacim prostriedkom na obrazovky (nestriekajte priamo na obrazovku).
- Čistenie skrine: Na utieranie skrinky televízora použite mäkkú, suchú handričku. Nepoužívajte abrazívne čistiace prostriedky ani rozpúšťadlá.
- Poprášenie: Pravidelne utierajte prach z vetracích otvorov na zadnej strane televízora, aby ste predišli prehriatiu.
- Napájací kábel: Periodically check the power cord for any damage. If damaged, contact service personnel for replacement.
8. Riešenie problémov
| Problém | Možná príčina | Riešenie |
|---|---|---|
| Žiadna sila | Napájací kábel nie je pripojený; zásuvka nefunguje. | Uistite sa, že je napájací kábel bezpečne zapojený. Otestujte zásuvku s iným zariadením. |
| Žiadny obraz, ale zvuk je prítomný | Vybratý nesprávny vstupný zdroj; Problém s podsvietením. | Stlačte tlačidlo SOURCE button to select the correct input. Check picture settings. |
| Žiadny zvuk, ale obraz je prítomný | Hlasitosť je stlmená alebo príliš nízka; Zvukové káble nie sú správne pripojené. | Stlačte tlačidlo ZTLUMIŤ or increase volume. Check audio cable connections. |
| Diaľkové ovládanie nefunguje | Batérie sú vybité alebo nesprávne vložené; Prekážka medzi diaľkovým ovládačom a televízorom. | Vymeňte batérie. Zabezpečte priamu viditeľnosť s infračerveným prijímačom televízora. |
| Nedá sa pripojiť k sieti Wi-Fi | Nesprávne heslo; Problém so smerovačom; TV príliš ďaleko od smerovača. | Verify Wi-Fi password. Restart router. Move TV closer or use Ethernet. |
9. Špecifikácie
| Funkcia | Detail |
|---|---|
| Značka | ATA |
| Číslo modelu | 43S1 (ATA43FOS) |
| Veľkosť obrazovky | 43 palca |
| Typ zobrazenia | LED FHD |
| Rozlíšenie | 1920 x 1080 (Full HD) |
| Obnovovacia frekvencia | 60 Hz |
| Operačný systém | Android 4.4.2 |
| Technológia pripojenia | HDMI (x3), USB (x2), VGA, Ethernet (RJ45) |
| Špeciálne funkcie | Smart TV functionality, Flat Screen |
| Rozmery produktu (D x Š x V) | 9 x 96.5 x 56 cm |
| Hmotnosť položky | 6.01 kg |
| Zahrnuté komponenty | TV, stojan |
10. Záruka a podpora
For warranty information, please refer to the warranty card included with your product or contact your local ATA authorized dealer or service center. Keep your purchase receipt as proof of purchase for warranty claims.
For technical support or service inquiries, please contact ATA customer service through their official webstránku alebo kontaktné informácie uvedené v dokumentácii k produktu.