1. Úvod
This manual provides essential information for the safe and efficient operation of your GRAEF SKS700 Electric Universal Slicer. Please read all instructions carefully before first use and retain this manual for future reference.
The GRAEF SKS700 is designed for slicing various food items such as bread, meat, cheese, and vegetables. Its robust construction and precise engineering ensure consistent slicing results.
2. Bezpečnostné pokyny
POZOR: Improper use can lead to serious injury. Always follow these safety guidelines.
- Pred montážou, demontážou alebo čistením vždy odpojte spotrebič od napájania.
- Počas prevádzky držte ruky a prsty ďalej od čepele. Čepeľ je mimoriadne ostrá.
- Uistite sa, že spotrebič je umiestnený na stabilnom, rovnom a suchom povrchu.
- Do not operate the slicer without all parts correctly assembled.
- Never push food with your hand directly towards the blade. Always use the remnant holder or PRO combined attachment.
- Do not slice frozen food or food containing bones.
- Children should not operate this appliance. Keep the slicer out of reach of children.
- Ak je napájací kábel poškodený, musí ho vymeniť výrobca, jeho servisný zástupca alebo podobne kvalifikovaná osoba, aby sa predišlo nebezpečenstvu.
- The LED safety control provides status indication for the stop position. A red pulsing light indicates the stop is open before sleep mode activates, reminding you to close it for safety.
3. Obsah balenia
Overte, či sú v balení všetky položky:
- GRAEF SKS700 Electric Universal Slicer
- PRO Combined Attachment (Remnant Holder & MiniSlice)
- Zásobník z nehrdzavejúcej ocele
- Knife Removal Device
- D-1000 Sharpener
- Návod na použitie
4. Produkt skončilview
Familiarize yourself with the components of your slicer.

Obrázok 1: Koniecview of the GRAEF SKS700 Electric Universal Slicer. Shows the main body, blade, carriage, and food tray area.
- Čepeľ: 170 mm diameter smooth solid steel blade with hollow grind.
- Ochrana čepele: Full metal protection ring around the blade.
- Preprava: Stainless steel food carriage for holding items to be sliced.
- Volič nastavenia hrúbky rezu: Na nastavenie hrúbky rezu od 0 do 20 mm.
- PRO Combined Attachment: Includes remnant holder and MiniSlice.
- Zásobník z nehrdzavejúcej ocele: Collects sliced food.
- LED Safety Control: Illuminates the cutting area and indicates stop status.
- Motor: 170 W capacitor motor.
5. Nastavenie
- Rozbalenie: Opatrne vyberte všetky komponenty z obalu. Obal si uschovajte pre prípad skladovania alebo prepravy.
- umiestnenie: Place the slicer on a clean, stable, and dry countertop. Ensure there is sufficient space around the appliance for safe operation.
- Montáž:
- Attach the food carriage to the slicer.
- Place the stainless steel tray in position to collect sliced food.
- Ensure the PRO combined attachment (remnant holder) is ready for use.
- Napájanie: Zapojte napájací kábel do vhodnej elektrickej zásuvky.
6. Prevádzka
6.1 Krájanie potravín
- Pripraviť jedlo: Ensure food items are free of bones and are not frozen.
- Úprava hrúbky rezu: Use the slice thickness adjustment dial to select the desired thickness (0-20 mm). The illuminated scale assists with precise adjustment.

Obrázok 2: Close-up of the slice thickness adjustment dial with red LED illumination, indicating the stop is open or a reminder.

Obrázok 3: Close-up of the slice thickness adjustment dial with blue LED illumination, indicating normal operation.
- Pozícia Jedlo: Place the food item on the stainless steel carriage. Secure it with the PRO combined attachment (remnant holder) to protect your fingers.
- Začnite krájať: Turn on the slicer. Gently push the food carriage towards the rotating blade. The 170 mm smooth solid steel blade ensures effortless and precise cuts.
- Zbierajte plátky: Sliced food will fall onto the stainless steel tray.
- Finish Slicing: Once finished, turn off the slicer. Always return the slice thickness adjustment to the "0" position to close the stop for safety. The LED safety control will pulse red if the stop is left open before entering sleep mode.
6.2 Using the PRO Combined Attachment
The PRO combined attachment includes a remnant holder and a MiniSlice component, designed for safe and efficient slicing of smaller food items and minimizing waste.
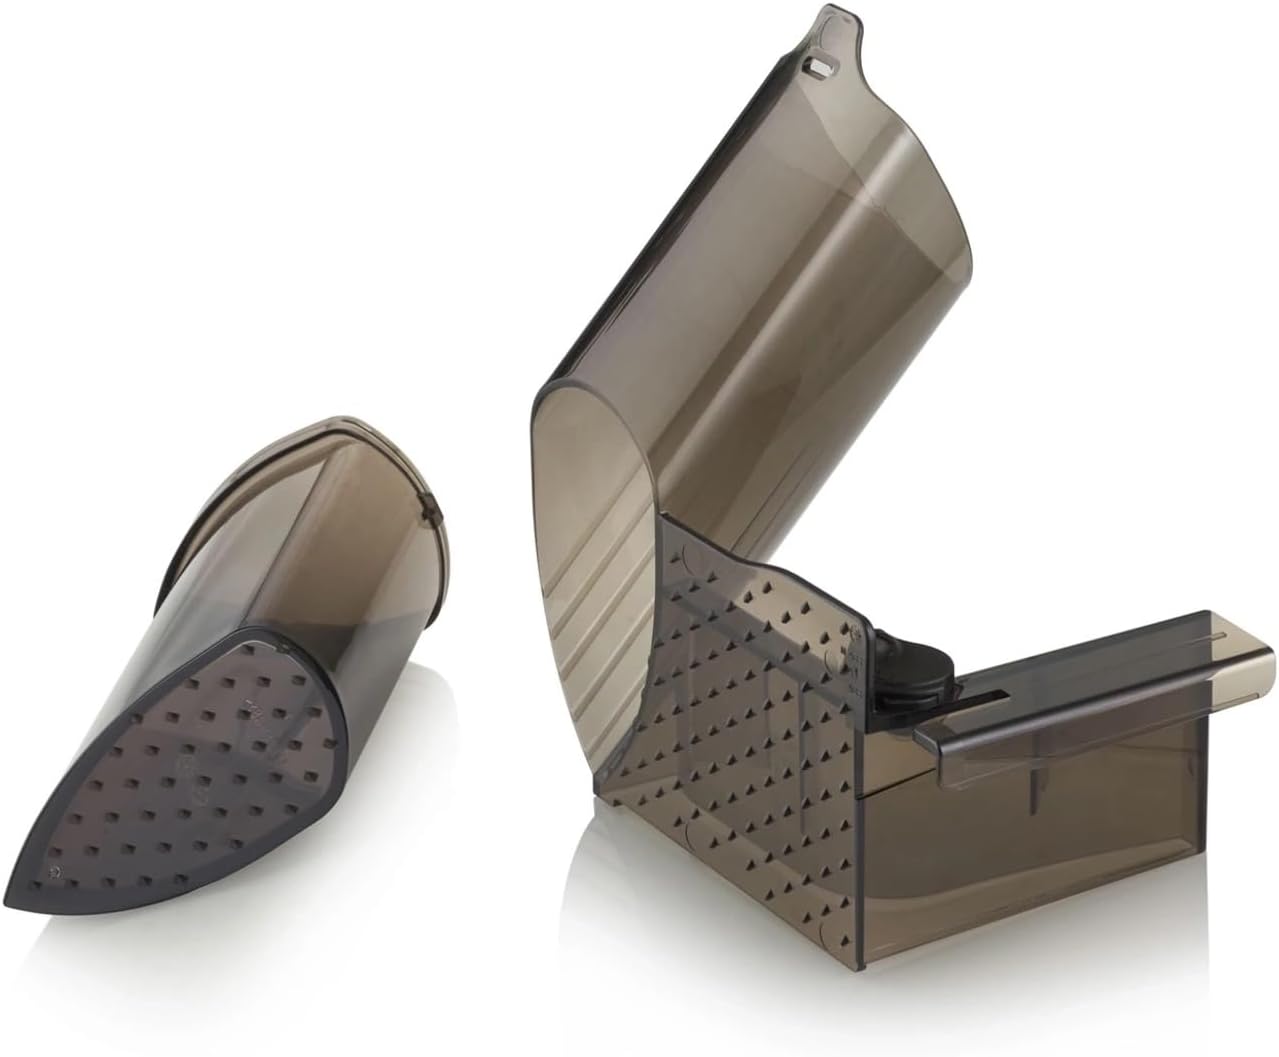
Obrázok 4: The PRO combined attachment, featuring the remnant holder and MiniSlice component for handling smaller food items.
- Use the remnant holder to secure the end pieces of larger foods, ensuring full utilization and finger safety.
- The MiniSlice component is ideal for very small items, allowing for fine processing and enhanced flavor release.

Obrázok 5: Example of thinly sliced cauliflower, demonstrating the slicer's capability with vegetables.

Obrázok 6: Example of sliced bread, illustrating the slicer's versatility for various food types.
7. Čistenie a údržba
Pravidelné čistenie zaisťuje optimálny výkon a predlžuje životnosť vášho krájača. Pred čistením vždy odpojte spotrebič zo siete.
- demontáž: Remove the food carriage, PRO combined attachment, and stainless steel tray.
- Odstránenie čepele: Use the provided knife removal device to safely detach the blade cover and then the blade.

Obrázok 7: Detail of the blade area, showing the full metal blade guard and the mechanism for safe blade removal.
- Čistiace komponenty: Wash the blade, food carriage, PRO combined attachment, and stainless steel tray by hand with warm soapy water. Neumývajte v umývačke riadu. Dôkladne opláchnite a ihneď osušte.
- Čistenie hlavnej jednotky: Utrite hlavnú jednotku reklamouamp plátno. Neponárajte hlavnú jednotku do vody.
- Opätovná montáž: Once all parts are dry, reassemble the slicer. Ensure the blade is securely reattached.
- Ostrenie čepele: Use the D-1000 sharpener as needed to maintain blade sharpness. Refer to the sharpener's instructions for proper use.
8. Riešenie problémov
| Problém | Možná príčina | Riešenie |
|---|---|---|
| Krájač sa nezapne. | Nie je zapojené; vypnutý vypínač; chybná zásuvka. | Check power cord connection; ensure switch is on; test outlet with another appliance. |
| Plátky sú nerovnomerné alebo sa ťažko krájajú. | Blade is dull; food is too hard/frozen; incorrect slice thickness setting. | Sharpen the blade with the D-1000 sharpener; ensure food is not frozen or too hard; adjust slice thickness. |
| Motor znie napäto. | Overloading the motor; food is too hard. | Reduce pressure on food; ensure food is suitable for slicing. |
| Red LED light pulsing. | Slice thickness stop is open, and slicer is about to enter sleep mode. | Return the slice thickness adjustment to "0" to close the stop for safety. |
If problems persist, contact GRAEF customer support.
9. Špecifikácie
- Model: SKS700 (S72010)
- Značka: GRAEF
- Farba: Strieborná
- Materiál: Metal, Plastic, Glass
- Motor: 170 W Capacitor Motor
- Priemer čepele: 170 mm
- Materiál čepele: Nerezová oceľ
- Hrúbka rezu: 0 – 20 mm
- Rozmery produktu (D x Š x V): Rozmer 37 cm x 31.5 cm x 25 cm
- Hmotnosť položky: 7.5 kg
- Pokyny na starostlivosť: Iba ručné umývanie
- Odporúčané použitie: Cheese, Vegetables, Bread, Meat